
Important
This product is a leather replacement cover only designed to install over your original factory component. Plastic trim pieces, mounting rings, hardware, and underlying parts are NOT included. You must reuse your existing OEM components during installation. Product photos are for illustration purposes only.
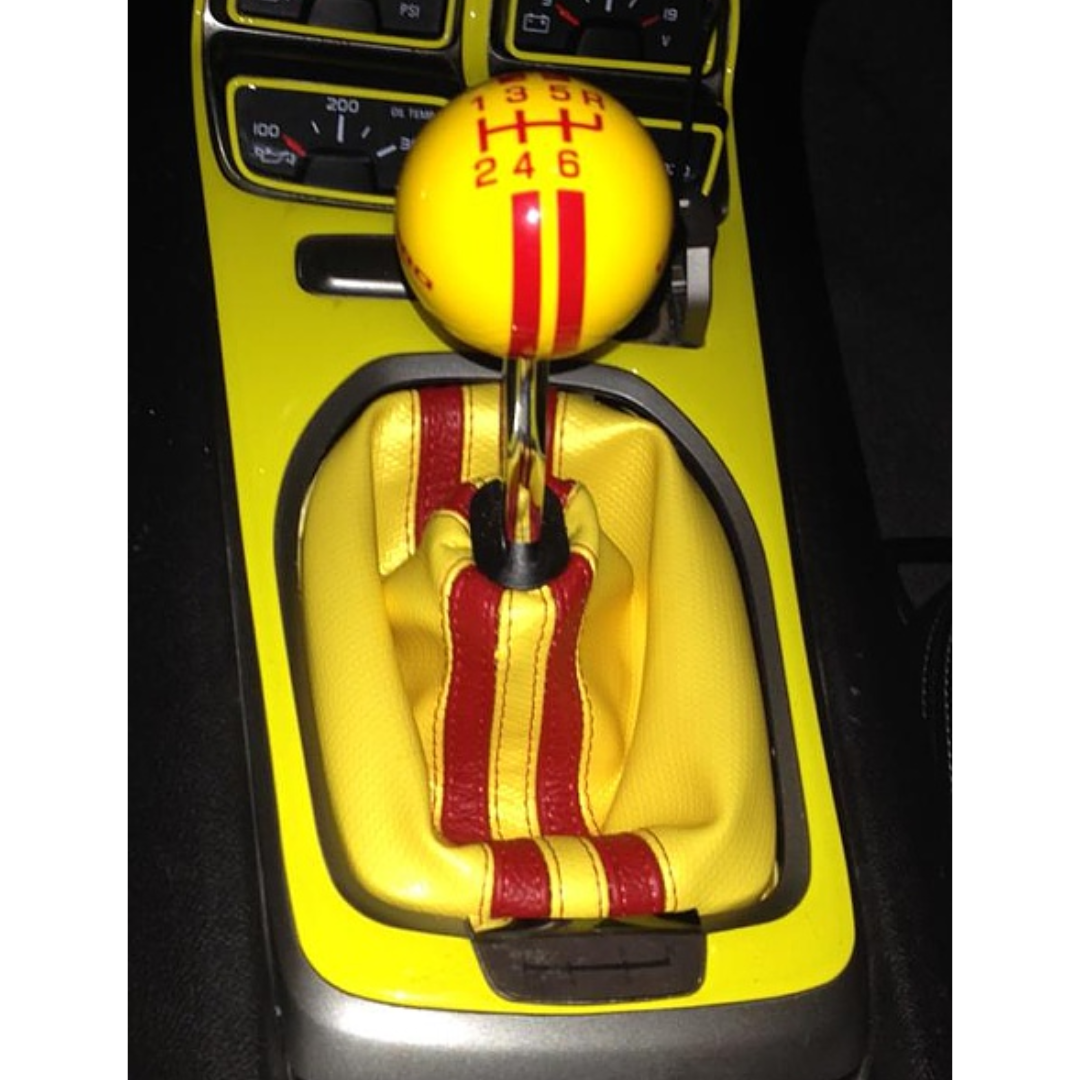
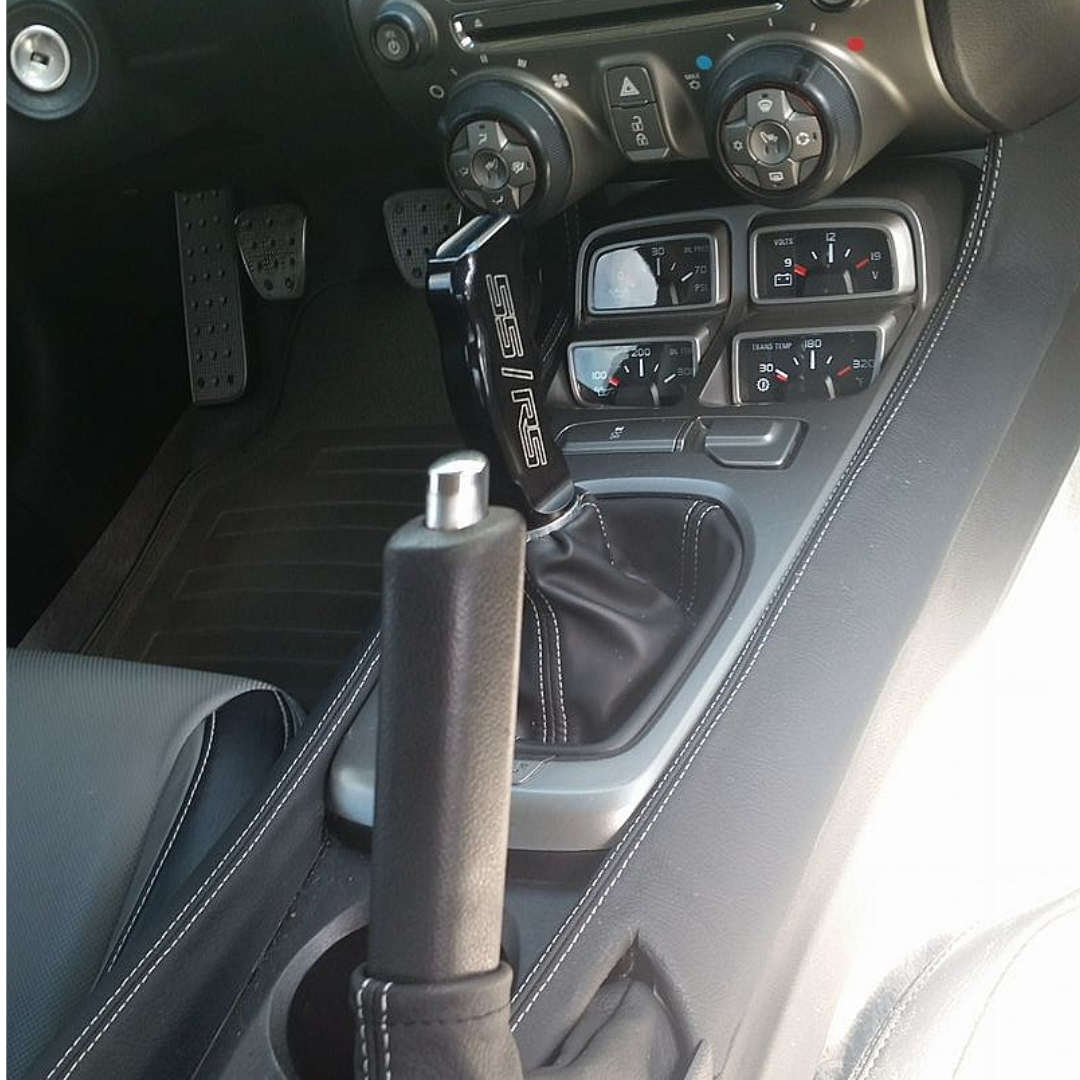
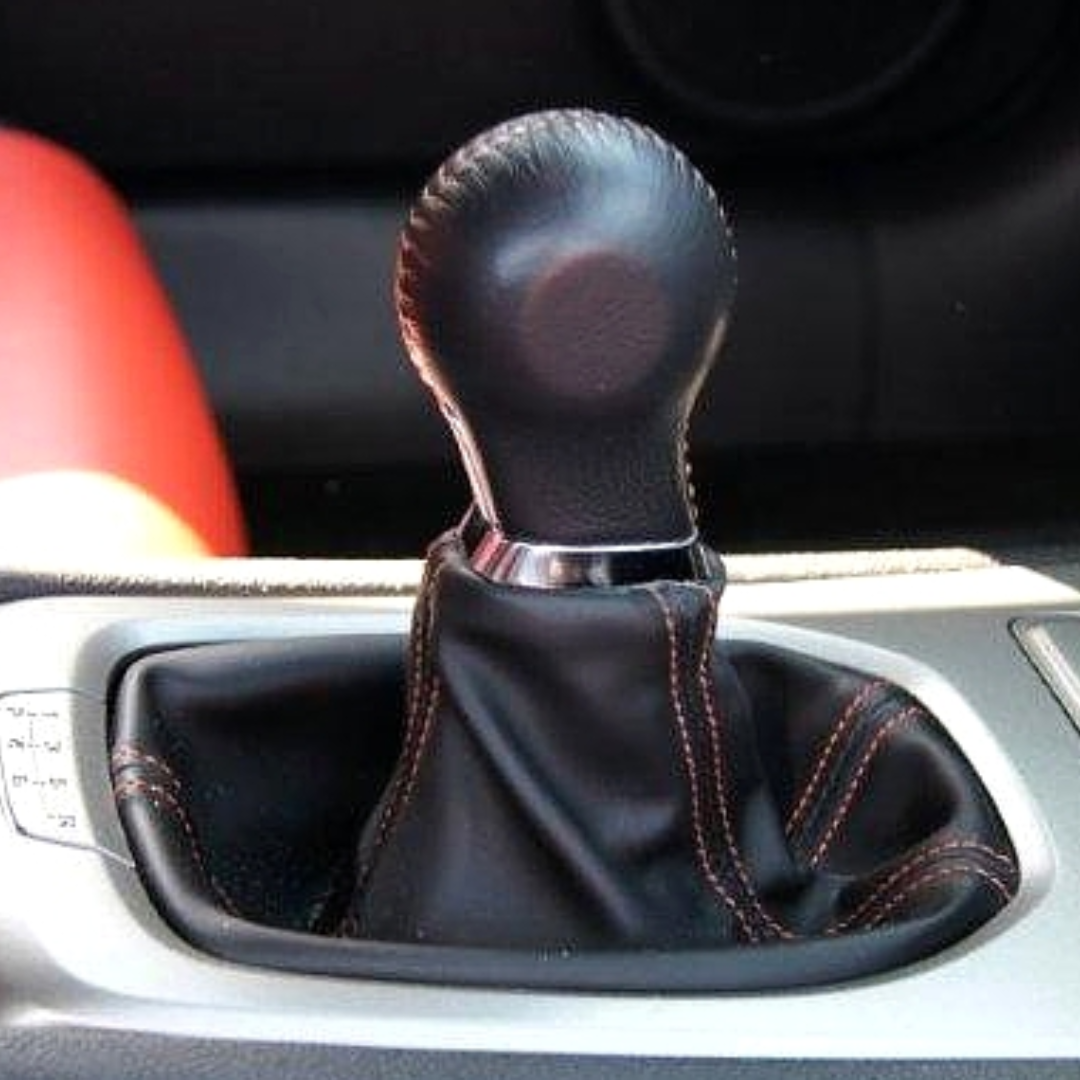


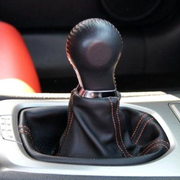


This product is handmade in Europe and can take up to eight weeks to arrive. No returns or exchanges accepted.
What This Is
A custom-sewn leather shift boot for 2013-2015 Camaros with a manual transmission. It's the leather only: you move the plastic retainer ring and silver cap from your factory boot onto this new boot, then reinstall it. It is not a complete shift boot assembly.
What's Included
- Included: 1 leather shift boot, cut and sewn to order in the material and colors you choose.
- Not included: retainer ring, silver cap, shift knob, or console trim. You reuse your factory parts.
Before You Order
- Fits 2013-2015 Camaro manual transmission cars with a round-bottom shift knob. Have a 2010-2012 (rectangular-bottom knob)? Use our 2010-2012 Shift Boot.
- Material tip: we recommend Genuine Alcantara for this boot. There is very little room under the mounting ring, and leather can be difficult to install.
- It's made to order, so it can take up to 8 weeks to arrive and can't be returned or exchanged. Please double-check your year, fitment, and colors before ordering.
- International shipping: every piece ships from Poland, so a $15 international shipping charge applies to each item at checkout.
Installation
Difficulty: Moderate | Tools: #2 Phillips screwdriver, small flathead screwdriver, plastic trim tool (optional), zip tie (optional)
You'll lift off the console trim, remove the factory boot, transfer the silver cap and retainer ring to your new boot, and reinstall. No cutting or drilling on the car.
▼ Click to Open / Close Step-by-Step Installation Guide (17 Steps)
Photos show a 2010-2012 boot; the 2013-2015 process is the same.

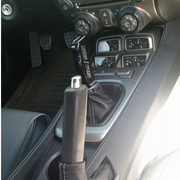
Step 1. This is the factory boot you'll be replacing.

Step 2. Pull the shift knob straight up off the shifter. It's tight, so rock it gently as you lift.

Step 3. Separate the knob from the silver cap at the top of the boot. Also tight, but it will come off.

Step 4. Lift the top console trim. It unclips by hand; a plastic trim tool or small flathead makes it easier.

Step 5. Leave the wire to the console and gauges connected. There's enough slack to set the trim aside.

Step 6. Remove the 4 Phillips screws on the outer edge that hold the boot in. Only remove those 4.

Step 7. Lift the boot out with the retainer ring still attached.

Step 8. Under the ring, the boot material is held by small teeth. Pull it free, or push it through with a small flathead.

Step 9. The factory boot and plastic retainer ring are now separated.

Step 10. Turn the old boot inside out and cut the zip tie holding it around the silver cap.

Step 11. Remove the silver cap. You're done with the old boot.

Step 12. Slide the silver cap into the new boot upside down. It's a tighter fit than stock and won't go all the way to the top.

Step 13. Turn the new boot right side out and check the cap position. It's snug enough that a new zip tie is optional.

Step 14. Make a small fold along the bottom edge of the boot and line it up with the ring. The front of the cap (the slot in front of the circle) faces the front of the ring (the side where the screw holes are farther apart). Press the fold onto the teeth.

Step 15. Work around the ring with a small flathead, pushing the leather onto the teeth.

Step 16. Set the ring back in place and reinstall the 4 screws.

Step 17. Reinstall the console trim and shift knob. Done.
Leather care: apply a leather conditioner with UV protection every 4-6 weeks to keep it from drying out and cracking.
Options & Pricing
Choose your material, 50+ colors, and 38 stitching colors in the options above. Add-on prices are added in the cart.
Material
- Regular Leather
- Perforated Leather
- Nappa Leather +$15
- Genuine Alcantara +$25
- Faux Alcantara
- Carbon Fiber Vinyl
Layout
- Default (Like My Factory Boot)
- 4 Panel (Stitching Forms An X) +$9
- Front to Back (Axis Of Car) +$9
Style
- Quadruple Thread +$9
- Stripes +$8
- Double Racing Stripes +$15
Quadruple stitching color applies to the outer lines of thread.
Frequently Asked Questions
Q: Is my personal information kept private? Is it safe to use my credit card?
A: Yes, your personal information is kept private and it is safe to use your credit card.
Q: How much will shipping cost?
A: Unfortunately, the cost of shipping is a real expense. Our goal is to minimize your shipping costs. Shipping is calculated at checkout based on the items in your cart and will be displayed prior to you placing an order. Please note that oversized items may be subject to additional charges, which will be noted on the product page.
Q: How do I track my order?
A: Once your order ships, you will receive a tracking notification via email. You are not required to purchase, download or use the Route app to track your order - this is an optional feature of the Route Package Protection service.
Q: Can someone outside of the United States place an order?
A: Yes, we are happy to provide worldwide service for our customers. Your shipping charges will be calculated during the checkout process. Customs and duty fees are the responsibility of the buyer.